Category Archives: City and Guilds

Lace

The homework for our August City and Guilds class was lace.

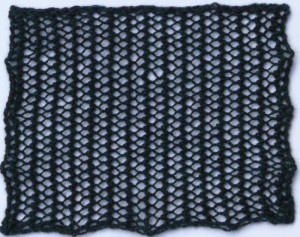
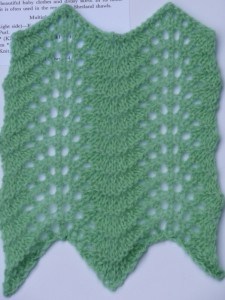
The first sample is an example of faggoting, that is, a lace mesh.

This pattern is called Basic Faggoting Stitch and is from A Treasury of Knitting Patterns by Barbara Walker.

The second sample is an example of a pattern made with eyelets.

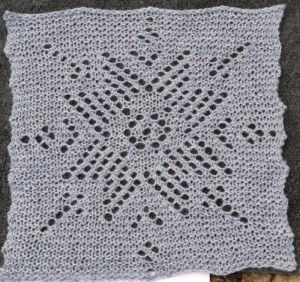
This is a snowflake from Gossamer Webs: The History and Techniques of Orenburg Lace Shawls by Galina Khmeleva and Carol R. Noble. There were a couple of little errors in this chart so if you are interested in knitting any of these patterns I would recommend downloading the errata first (although neither of the errors I spotted were actually included in the errata, I have contacted them so hopefully they should appear in the next version of the corrections). In 2000 Mummy and I went on a fascinating weekend workshop in Bradford organised by the Knitting and Crochet Guild on Orenburg shawls. It was really interesting and a wonderful weekend, I am looking forward to getting round to doing my own Orenburg shawl at some point.

Next up is an example of Shetland lace.

This is Feather and Fan Stitch, I got the instructions from A Treasury of Knitting Patterns by Barbara Walker, but being a traditional pattern it is in a lot of books. This just goes to show that you can work lace in acrylic 🙂

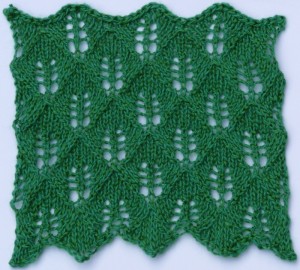
Lastly, my fourth sample shows an example of a more complex lace pattern which distorts the fabric (if the decrease is not right next to the corresponding yarn over then the fabric will be distorted).

This is Fern or Leaf-Pattered Lace, again from A Treasury of Knitting Patterns by Barbara Walker. I do love this pattern, it tiles so beautifully. I must do a whole garment using this, it is such a lovely pattern, and very pleasant to knit.

I now only have one more set of samples to do, on combined stitch structures, and then I need to organise them all and hand them in. I am hoping to be able to hand in at the September class so I’d better get a move on!

Distortion

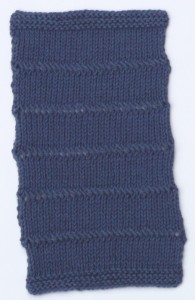
Our homework for the July City and Guilds class was on stitches which distort the fabric, slits, slots, dropped stitches and elongated stitches.

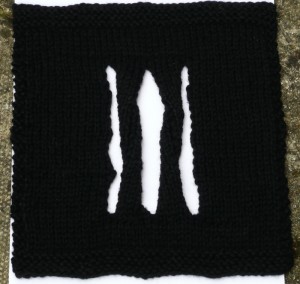
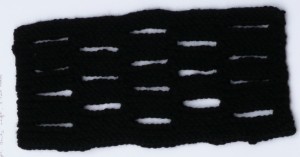
My first two samples are in black, which unfortunately didn’t photograph very well. The first shows vertical slits in the fabric. Each section is knitted separately and then they are all united in the row that joins the slits. I gave each of the interior sections a one-revolution twist, one in each direction, before the join.

The second sample is of horizontal slots in the fabric. These are made like large horizontal button holes.

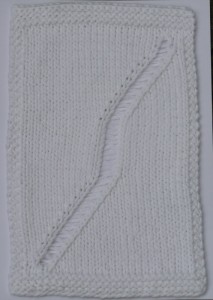
Then we moved on to dropped stitches (intentionally that is). The extent of the dropped stitch is controlled with a yarn over. The yarn over is worked at the point you would like the dropped stitch to stop unravelling. I like to mark the stitch I am going to drop with a safety pin so I can keep track of it as I am knitting. You can make it travel across the knitting using balanced increases and decreases, make a decrease on the side of the marked stitch that you would like it to bend towards, then make a corresponding increase on the other side so that the total number of stitches remains the same. For this sample I only used one dropped stitch. Since the stitch is wider once it has been dropped, I made two decreases at the start of the dropped section, one on either side of the yarn over. Then made two corresponding increases once I had dropped the stitch at the top of the section.

Next onto more elaborate patterns. These are all from Barbara Walker’s A Treasury of Knitting Patterns.

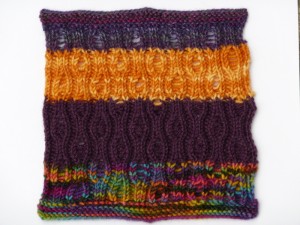
First Vertical Drop Stitch:

It was interesting to see how this looked with different yarns. They are all wool, apart from the top purple which is 75% wool, 25% nylon. I think this pattern actually looks quite good in the yarn with a slight variation of colour, but the very multicoloured yarn at the bottom is too much and obscures the pattern.

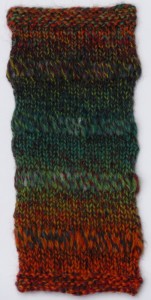
Next elongated stitches. Elongated stitches are created by wrapping the yarn more than once around the needles when a stitch is created, then dropping these extra wraps on the next row. First Simple Elongated Stitch:

Then the slightly more complicated, Twisted Elongated Stitch:

They were all fun to do, though I am not sure whether I would incorporate the slits or slots into a garment. They might be fun if you wove ribbon through them. I find the change in texture interesting when you have a line of elongated stitches or dropped stitches and I’m sure you could create something which used that to good advantage

Knitting with colour

Our homework for the June City and Guilds class was knitting with colour; stranding, weaving in, and intarsia.

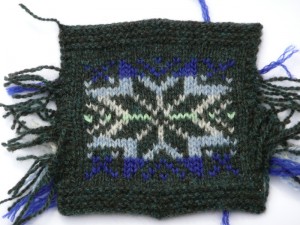
My first sample was an example of stranding:

I did this one by knitting flat, then at the end of each row, snipping the yarn and, after zooming the stitches along to the other end of the circular needle, re-joining the yarn so that I could knit the next row, rather than purling back. The pattern is a traditional one, sometimes called Norwegian star I think. The yarns are all 4ply weight Shetland, apart from the darker blue which is an oddment and I think is probably acrylic, I’m not sure where it came from actually. I enjoyed knitting the pattern but didn’t enjoy the fact that this method meant it was hard to get the first and last stitches of each row neat and not sloppy. In light of this I worked all my other stranded samples circularly. It may be bizarre but I would rather do twice as much knitting and have it neat 🙂

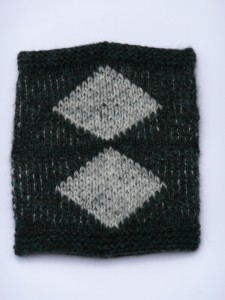
With the stranding the yarn is just held loosely at the back of the work when it isn’t being knitted. Our next sample was weaving in, where the non-working yarn is woven into the working yarn every other stitch in the same way that you would weave in yarn ends.

As you can see, the yarn being woven tends to show through to the right side. This is particularly obvious if, like I have, you have used yarns which contrast a lot in lightness and darkness. This does allow you to make large blocks of one colour while still knitting in the round with relative ease.

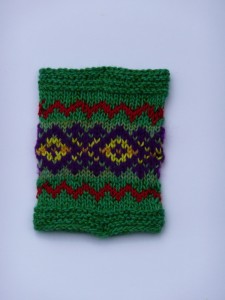
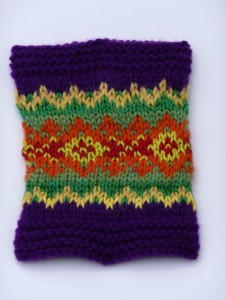
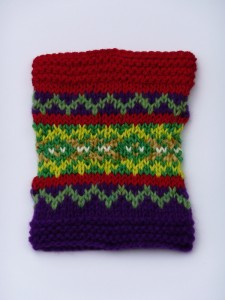
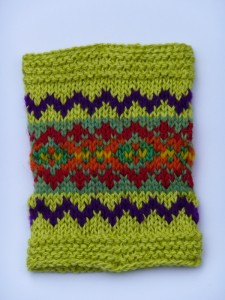
Next up, Fiona gave us a traditional pattern, and using the same selection of colours inspired from a picture, we had to colour in the pattern in a variety of different ways. My picture is of tulip fields in Holland 🙂

It really shows how a pattern can look different depending on the contrast between the background and the foreground. Value contrast really makes a difference. It is one of the problems I found with a couple of my samples, that I had put orange against green, and although they are very different colours, the particular shades I had chosen were very close in value. So if you photocopied them in black and white they would come out the same shade of grey. This means that particularly from a distance the pattern is not clear, and just looks rather blurry.

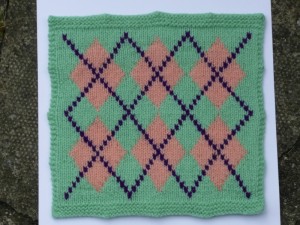
Lastly we did a couple of samples of intarsia. The first geometric, so I used an argyle pattern.

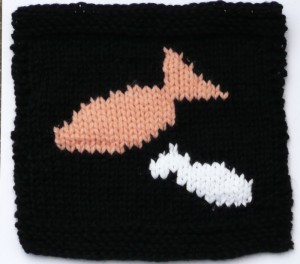
The second pictorial.

They are supposed to be fish.

These were all very enjoyable to do, it has been a long time since I did any intarsia and apart from tangling the yarns a bit it was all good fun. I am definitely going to do some colour work for my second project for the City and Guilds – I just need to get a move on with the first one! Speaking of which, I don’t think I have mentioned this on the blog yet. I will take some pictures as it already has most of a body and one sleeve.

Surface Embellishment

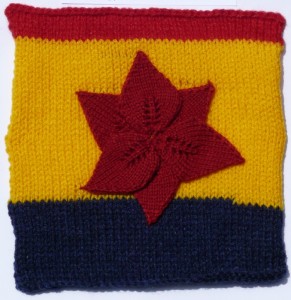
Last months knitting homework for City and Guilds class was on surface embellishment, mostly things added to a plain piece of knitting, but some were knitted in. I had had a go at some of the techniques before, but some were new, so a nice mixture of old friends and new excitement!

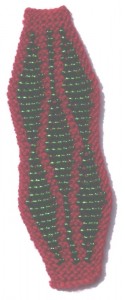
The first old friend was the method of knitting with beads that I used on my bracelets. Here the beads are placed between knit stitches, and the piece is totally reversible.

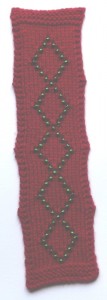
Next, a different method of adding beads into the knitting. This time the knitting is stocking stitch, and the bead lies on the working thread in front of a slip stitch. The pattern is only on one side of the fabric, and this method seems to work best if the bead is a similar kind of size to the knitted stitch. I actually have a dress that I am knitting using this method. I have been knitting it for the last 8 years (ok it has spent a lot of that time in a bag). One of these days I will discover which bag it is in and dig it out and continue.

The last sample using beads involved sewing the beads onto an already finished piece of knitting. I was less keen on this sample. I think it looks a bit messy, partly due to the beads I used being rather inconsistent, and partly due to my not sewing them on very neatly. Not sure I will be doing a lot of bead embroidery in my future.

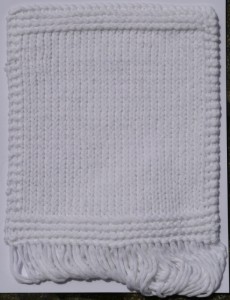
The next bit of embellishment was fringe. I’m afraid my example isn’t wildly exciting.

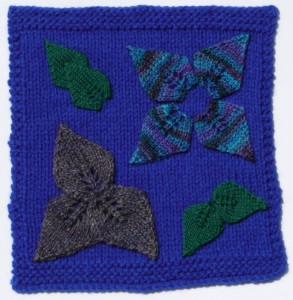
And then onto appliqué. I got a bit carried away with this one 🙂 So many little leaves, so much fun, so many colours. I particularly liked the sock yarn ones.

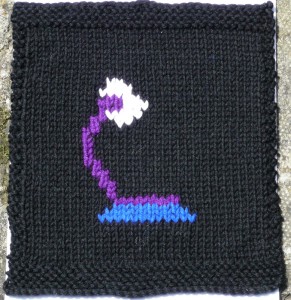
Then a bit of Swiss darning (also known as duplicate stitch). My example is a little abstract, though I do think it looks a bit like an angle-poise lamp (totally unintentionally).

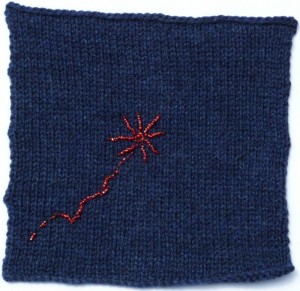
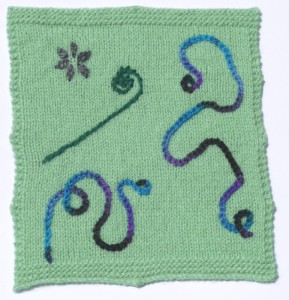
Finally, an example of embroidery. Despite my rather strained relationship with sewing I enjoyed doing this one, and I particularly liked the effect created by space-dyed yarn.

Now I had better get cracking on this months homework. Only just over a week til the next class.

Catching up

Thank you to all of those who left such lovely comments about my Teal Top. I have worn it several times now, and it is washing and wearing well, and very comfortable. I am very pleased with it 🙂

Shortly after my last blog entry we went to east Kent for a little holiday, over my birthday. We had a lovely time, very relaxing, and visited several castles and Roman remains, we are definitely getting our money’s worth out of English Heritage 🙂 This is the view from the bedroom of the cottage we were staying in.

On the knitting front I have been catching up with my homework for the City & Guilds course. I started to get behind in about October, and have been struggling to catch up since. I have now caught up with all my samples (apart from the homework we just got from the class yesterday), and once I have done the latest set of samples I will concentrate on my coursework projects. Hooray!

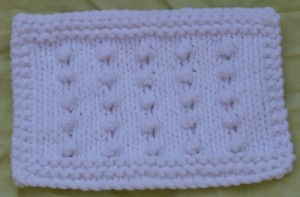
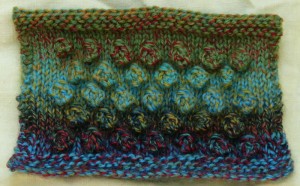
One of the things I love most about the City and Guilds course is the encouragement and opportunity to try things I wouldn’t otherwise have a go at. I am not really a big fan of how bobbles look, I don’t think I would wear anything with bobbles on, though they might be fun on a tea cosy, or an accessory. So without the course it is unlikely I would ever actually knit any. The theme for the homework for the month before last was raised and embossed stitches, and this included bobbles and popcorns (mini bobbles). To my own surprise I actually quite enjoyed knitting them, although they were a little fiddly. They were especially fun in multi-coloured sock yarn.

So here are my popcorns.
And here are some bobbles.
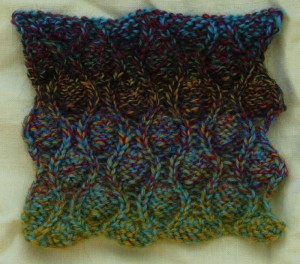
To show a bit of variety for my other raised and embossed patterns here is Cocoon Stitch from Barbara Walker’s A Second Treasury of Knitting Patterns.

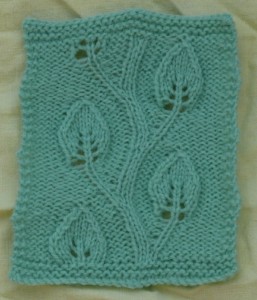
and Embossed Twining Vine Leaf from Nicky Epstein’s Knitting on the Edge: The Essential Collection of Decorative Borders.

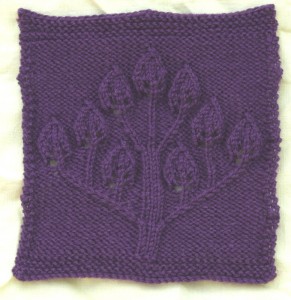
and the beautiful Candle Tree by Barbara Walker available in her A Treasury of Knitting Patterns.

This one is so lovely that I think we all have had to knit one 🙂 Certainly Jo has a lovely picture of her sample on her blog.

Moving on from the raised stitches, the homework for the last class was pockets.

First up we have a bag pocket.
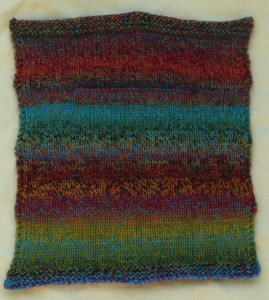
I love the subtlety of this one. You work up until the point of the opening of the pocket, then work a purl turning row on just the pocket stitches. Then work back and forth on just the pocket stitches until your pocket is the size you are after, then fold your pocket up and work across all your stitches again. Afterwards you sew the sides of the bag up, but you don’t sew the bag to the main knitting so that it will hang freely inside your garment – so hopefully wont distort the garment if you put heavy things in the pocket. You do have to be careful that the bag wont hang out the bottom of your garment though!

Next is a lined pocket.
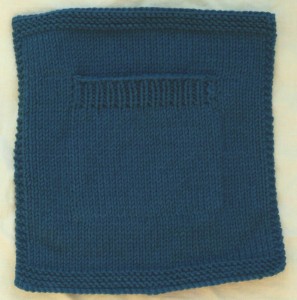
For this one you knit the inside of the pocket first, and leave the stitches on a holder. Then knit the garment up to the point where you want the pocket. Put the garment stitches which correspond to the pocket placement on a holder, and as you work across the row, knit the pocket stitches instead. Then carry on up the rest of the garment. Afterwards, come back and knit the rib (or whatever) on the top of the pocket, and then carefully sew the pocket down onto the back of the garment. This one is quite a commonly used pocket and can easily be put into a patterned garment. It is also better for thicker yarns than the bag pocket because you only have one extra layer of fabric.

Lastly is the patch pocket.
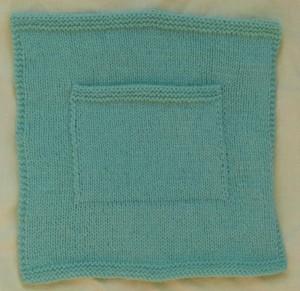
With this one, you knit the garment first. Then knit the pocket (which can be any shape), then sew the pocket onto the garment. With this sample I actually knitted the pocket onto the sample which I think is probably neater than my sewing. The advantage of this style of pocket is that you can easily make it any shape or size you would like. You also don’t have to think ahead, and can add the pocket as an afterthought. You can try the garment on and experiment with pinning your pocket in different locations to see which you like best. The main disadvantage is that it can interrupt a pattern on the front of the garment, and that you have to sew it down neatly.

If you have got this far you probably deserve a long service medal for reading my rambling 🙂 I’m afraid I don’t have any medals, but I do have someone I would like you to meet.

This is Framboise and she came all the way from France as a birthday present from Paul’s parents. We seem to have gone from winter to summer back to winter again in the last week or so, but Framboise’s bright smile will cheer even the dullest day 🙂